
Last updated October 17, 2026
 Architectural shingles
 Metal roofing
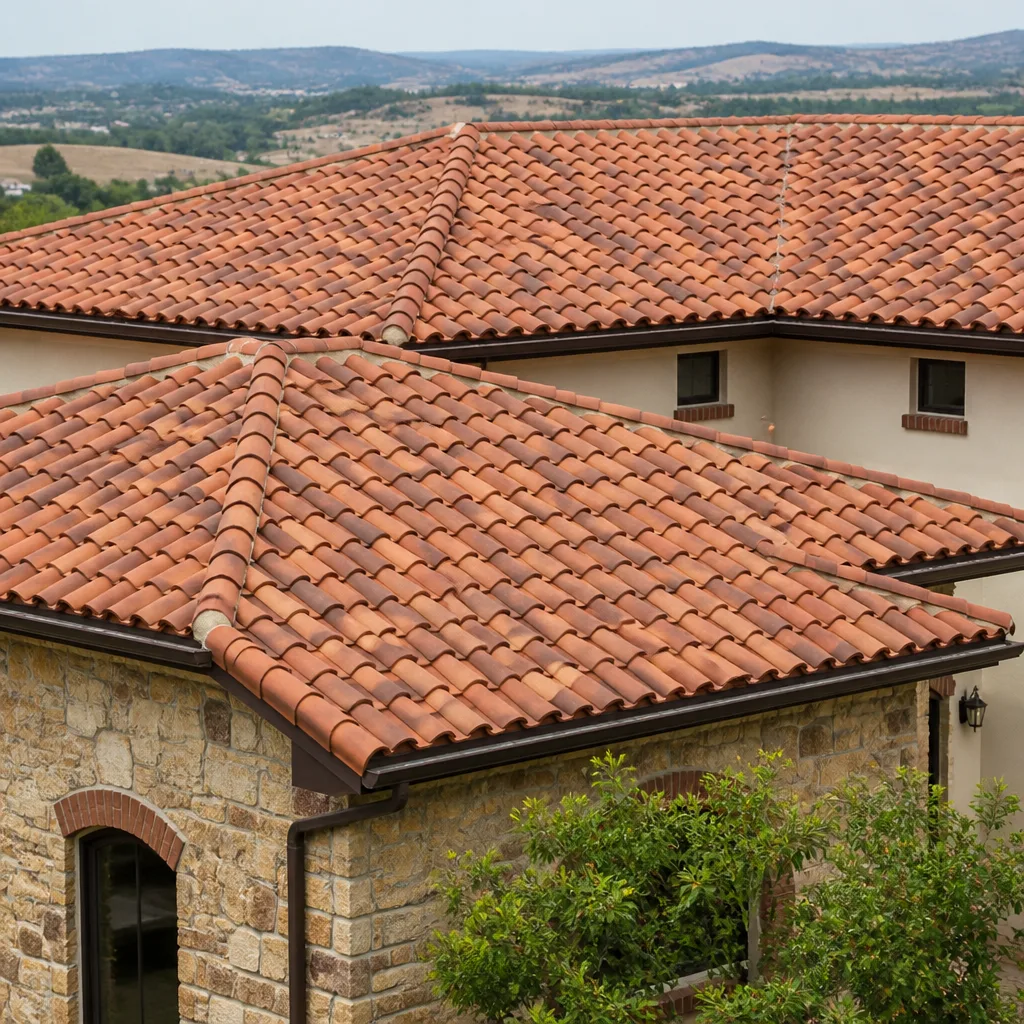 Tile roofing
 Owens Corning
Free roof inspection with deck photos before we talk money - GAF and Owens Corning certified installation
Roof Repair Maintenance Checklist for San Diego Homeowners
The most expensive roof repair call we get every spring starts the same way: a homeowner says, “I thought it was fine. I couldn’t see anything wrong from the driveway.” Here’s what most San Diego homeowners don’t realize until water is already inside the house: UV cracking on flat and low-slope roofs is almost always invisible from the ground. The sun breaks down roofing materials slowly, then all at once, and the first sign of trouble is often a water stain on the ceiling, not a missing shingle. This guide walks you through what San Diego roofs actually need, month by month, so you catch the $200 problem before it becomes the $8,000 one. For more in-depth guidance, see our more guides & resources.
Styles & brands we work with
Quick Answer
A roof maintenance checklist for San Diego homeowners should focus on UV and salt-air damage, not just storm damage. Inspect your roof twice a year in April and October, check your attic interior after every major rain, and complete small maintenance tasks like re-caulking pipe boots and clearing scuppers before winter rains arrive. Budget roughly $150 to $350 per year for routine maintenance unless an inspection turns up actual damage that requires Roof Repair services.
Table of Contents
- Why San Diego Roofs Fail Differently
- The Month-by-Month Maintenance Checklist
- The Attic Interior Inspection Most People Skip
- Concrete Tile Roofs: What to Check That Asphalt Guides Miss
- The Under-$200 Maintenance Tasks That Prevent $8,000 Repairs
- What to Document and Photograph Every Year
- Common Mistakes to Avoid
- When to Call a Professional
- Frequently Asked Questions
- The Bottom Line
Why San Diego Roofs Fail Differently
San Diego gets about 10 to 12 inches of rain per year, which sounds mild, and it is. The problem is what happens during the other 350 days. We have roughly 260 to 270 sunny days annually, and that sun is relentless on roofing materials. Asphalt shingles in San Diego lose their protective granules faster than shingles in Seattle or Portland, not because of rain, but because of UV exposure. Those granules are the shingle’s sunscreen, and once they’re gone, the asphalt underneath starts to crack and erode. In neighborhoods like Clairemont and Mira Mesa, where homes went up in the 1960s and 1970s, we regularly see shingle roofs that look passable at a glance but have paper-thin wear zones where the afternoon sun hits hardest, usually on the west and south-facing slopes.
Salt air adds a second layer of stress. Homes west of I-5 in neighborhoods like Ocean Beach, Point Loma, and La Jolla get a steady dose of marine layer moisture and salt deposition. Salt accelerates corrosion on metal flashing, nails, and vents. We’ve pulled flashing off Ocean Beach homes that crumbled in our hands after 15 years, while the same material inland in Rancho Bernardo would have lasted twice as long. Flat and low-slope roofs, common on mid-century homes in Mission Hills and North Park, face yet another problem: ponding water. When a flat roof’s drainage is even slightly off, water pools, and UV has already degraded the surface, so that pooled water finds a path through hairline cracks. This is the single biggest hidden failure mode in San Diego roofing: the roof looks fine from the ground, but the surface is compromised, and the first rain of the season is when the interior damage starts.
The Santa Ana winds add a seasonal complication. Between September and November, dry, gusty winds from the east can lift loose tiles, peel back shingle edges, and blast debris across roofs. On a tile roof, a single lifted tile edge acts like a wind scoop, and once one tile is gone, the ones around it become loose too. Most wind-related failures we see in San Diego County are not catastrophic blow-offs; they’re small, incremental lifts that create openings for the winter rain season that follows.
If you’re starting from scratch on a maintenance plan, the most useful thing you can do is to read through the full scope of what roof repair in San Diego involves, so you understand which signs are routine wear versus genuine red flags.
The Month-by-Month Maintenance Checklist
San Diego doesn’t have four seasons, and your roof maintenance calendar shouldn’t pretend it does. Here’s what we recommend, month by month, based on what San Diego roofs actually experience.
January: Post-Rain Interior Check
- Go into your attic, or the highest interior space you can access, with a flashlight and look at the underside of the roof decking. You’re looking for dark stains, water trails, or soft spots, especially around vents, chimneys, and skylights.
- Check ceiling areas under the roof’s valleys and around any roof penetrations for faint yellow or brown rings. Fresh water damage shows up as a defined ring; old damage fades but leaves a watermark.
- If you have a flat or low-slope section, check the ceilings directly beneath it for any sagging or discoloration. Flat roof leaks are sneaky and often travel several feet from the actual crack before showing up inside.
- Confirm your gutters and downspouts are still securely attached after the season’s heavy rain. A gutter pulling away from the fascia is a warning sign that water is not leaving the roof the way it should.
- Go outside and check the roof from the ground, especially if we’ve had significant rain. Look for tile edges pointing up, shingles that appear risen or curled, or anything that’s no longer laying flat.
February: Inspect Flashing and Pipe Boots
- Look at the flashing around every roof penetration: plumbing vents, exhaust vents, chimneys, and skylights. You’re looking for rust spots, lifted edges, separated joints, or old caulking that’s hardened and cracked.
- Pipe boots, which are the rubber or metal collars around plumbing vents, are a top failure point in San Diego even on otherwise healthy roofs. If the rubber feels brittle when touched, or if you can see cracks in it, plan to replace or re-caulk it now.
- Check the chimney counterflashing, if you have one. In older San Diego homes, the counterflashing was often just mortared into place, and after years of small seismic shifts, that mortar cracks and lets water slide behind the flashing and down into the attic.
- If you see problems, do something about them now. February and March are the calmest months for roofing work in San Diego; you’ll get the best scheduling and the most competitive pricing.
March: Clean Gutters and Check Drainage
- Remove leaves, granule buildup, and debris from gutters and downspouts. It’s not glamorous, but clogged gutters are one of the top three contributors to roof edge damage and fascia rot in San Diego.
- Flush the gutters with a garden hose after cleaning to make sure water is flowing freely through the downspout and exiting at least three to four feet from the foundation. If water is backing up, you’ve got a downspout clog or an improper slope.
- Check that your gutters are still pitched toward the downspouts. Over time, gutter brackets can loosen and sag, which creates low spots where water and debris collect.
- If you’ve got a flat roof, walk around the edge and visually check the scuppers and overflow drains. Scuppers are the openings in the parapet wall where the flat roof drains, and if they’re clogged with debris, water has nowhere to go but down into the building.
April: Comprehensive Roof Surface Inspection
April is the single most important month in San Diego roof maintenance. It’s after the rainy season but before the intense June and July UV season. You’re checking for winter damage before the summer heat accelerates any problems.
- If you can safely access your roof or view it from a sturdy ladder, do a visual survey of every section. If you’re not comfortable on a ladder, this is the exact moment to call in a pro. Every technician at Mercer Roofing is background-checked and identity-verified under the Threshold Verified standard, and we’d rather you have us look than put yourself in a dangerous position.
- On asphalt shingle sections, look for shingles that are curled at the edges, blistering, or losing granules noticeably. Run your eye along the roof in sections, not as one big picture. You’ll spot problems faster this way.
- Look for missing or dislodged tiles on tile sections. On a concrete tile roof, a single tile out of place is often the first sign of a broader problem.
- Check all roof areas around skylights, vents, and chimneys. These are the most common leak sources in San Diego, and the damage usually shows up here before anywhere else.
- Look for any tar patches or sealant that’s cracked or failing. If a previous owner or contractor patched a spot with tar, that patch is a time bomb. Tar patches fail rapidly in San Diego’s heat.
May: UV Season Preparation
- Inspect your roof coating if you have a flat roof. Look for areas where the coating is thinning, cracking, or showing bare spots. UV exposure in May and June will turn a small coating crack into a larger one by August.
- Check that your roof’s ventilation is still functioning. This is easiest from inside the attic: on a warm day, you should feel air movement if you hold your hand near the ridge vent, soffit vents, or gable vents. Poor attic ventilation accelerates shingle degradation and contributes to excessive heat in living spaces.
- Trim any tree branches that are now touching or overhanging your roof. Trees in San Diego grow surprisingly fast in spring, and branches that touch the roof can scrape granules off shingles, puncture tiles, and create shaded areas where moss and algae can grow during the marine layer months.
June-August: Minimal Intervention, Maximum Observation
Summer in San Diego is UV season. We don’t recommend major roof work during these months unless it’s an emergency; the heat makes roofing materials more brittle and increases the risk of accidental damage during a repair. Your job during these three months is observation.
- Walk around your home once a month and look at the roof from the ground, specifically checking for any shingles that appear “shiny” in the sunlight. A shingle that’s suddenly shiny has lost its granules, which means it’s now absorbing direct UV and degrading quickly.
- Check for any moss or algae growth, especially on north-facing slopes and areas with heavy tree cover. Moss and algae trap moisture against the roof surface, and they’re more active in San Diego’s marine layer months than people realize.
- Keep gutters clear of dry leaves and wind-blown debris. Santa Ana season starts in September, and dry gutters near a home in fire-prone zones are a real safety consideration.
September: Pre-Santa Ana Inspection
- Do a thorough roof check specifically looking for loose or lifted edges, because Santa Ana winds exploit any weakness. Look for shingles that have lifted even slightly at the corners. On tile roofs, check that all tiles are seated flat and none have shifted.
- Ensure that any rooftop equipment, like satellite dishes, HVAC units, or solar panels, is still securely mounted and that the sealant around the mounts hasn’t cracked. Santa Ana winds push hard against rooftop equipment, and any movement can tear the waterproofing around the mounts.
- Clear all debris from the roof and gutters. Santa Ana winds will pick up loose debris and slam it against your roof, and dry leaves in gutters are a fire hazard in San Diego County.
October: The Second Major Inspection of the Year
October is the second critical inspection month in San Diego, the mirror of April. The UV season is winding down, the rainy season is approaching, and anything you find now can be fixed before water gets involved.
- Repeat the comprehensive roof surface inspection: every slope, every penetration, every flashing point, every tile and shingle.
- Pay special attention to any area that was repaired or patched more than a year ago. Repairs fail before original roofing does if the underlying problem wasn’t fully addressed.
- Check that all gutter hangers and downspout brackets are tight and secure before heavy rain.
- If you have any doubt about what you’re seeing, get a professional inspection. A written inspection report with photos, provided to you before any work is proposed, gives you a baseline for the winter and documents the roof’s condition in case anything changes. Companies like Mercer Roofing provide a written price before any work starts, and every repair we do includes a written guarantee, so you’ll know exactly what you’re getting into before spending anything.
November-December: Rain Watch
- After the first significant rain, do the attic interior check again. The first rain of the season is when dormant leaks wake up.
- Check ceilings and walls inside the house after the first heavy storm. Look for water stains, peeling paint, or bubbling drywall, which indicate moisture behind the surface.
- Watch for any water pooling on the roof two to three days after a storm. In San Diego’s dry climate, water should fully drain and evaporate within 72 hours. Ponding that persists beyond that window is a drainage problem that needs attention.
- Document any new damage or water intrusion with photos and notes, and schedule repairs before the next storm arrives.
The Attic Interior Inspection Most People Skip
Here’s a counterintuitive fact about roof maintenance: the most informative inspection you can do is often the one that never involves looking at the roof at all. The attic tells you what the roof’s exterior is hiding. Stains on the underside of the roof decking, sagging plywood, moisture trails on the rafters, these show up inside long before the roof exterior looks damaged from the ground. We’ve found leaking pipe boots on homes in La Mesa where the shingles looked three years old from the street, but the attic told a completely different story.
Here’s the attic inspection routine we recommend for San Diego homeowners, done at minimum twice a year, in January and again after the first significant winter storm.
- Go into the attic with a bright flashlight. Not a phone light; you need something powerful enough to illuminate the dark corners. A headlamp is ideal because it leaves both hands free.
- Start at the ridge, or highest point, and work your way down toward the eaves. You’re looking for dark staining on the wood, water streaks, white or gray water rings, or any wood that looks darker than the wood around it.
- Check the underside of the roof decking around every penetration: plumbing vents, exhaust vents, chimneys, skylight shafts. This is where leaks show up first. A leak at a pipe boot will appear as a dark stain on the plywood around the pipe, often with a water trail leading down a rafter.
- Look at the insulation. Water-damaged insulation compresses, discolors, or looks matted and flat. If your insulation is uniformly fluffy everywhere except one spot that looks flattened or dark, that’s water intrusion.
- Check the roof decking for sagging between rafters. A sag between rafters means the plywood has absorbed moisture over time and is losing its structural strength. A small sag today becomes a bigger sag next winter. This is different from a sag in the rafters themselves, which is a structural problem.
- Look for light coming through the roof. On a sunny day, any pinholes of light penetrating through the decking are gaps that water can get through. Turn off your flashlight and let your eyes adjust, then scan for any light infiltration.
- Finally, check for signs of animal entry. Raccoons, squirrels, and rats can force their way through roof gaps and cause significant damage. Look for droppings, nesting material, chewed wood, or disturbed insulation.
If you do only one maintenance activity this year, make it the attic inspection. It’s free, it takes 30 minutes, and it catches the problems that the ground-level walk-around misses. We’ve seen too many San Diego homes where a roof that looked “fine” from the driveway had an attic that revealed years of slow, hidden water damage, because the homeowner never had reason to go up there until the ceiling started staining.
Concrete Tile Roofs: What to Check That Asphalt Guides Miss
San Diego has a huge inventory of concrete tile roofs. Drive through almost any neighborhood built between 1970 and 2010, from Scripps Ranch to Eastlake to Poway, and you’ll see them everywhere. Concrete tile is a great San Diego roofing material: it handles UV well, it’s fire-resistant, and it can last 50 years or more. But tile roofs have their own specific failure modes, and most generic maintenance checklists, which are written for asphalt shingle roofs, completely miss them.
The number one missed maintenance item on San Diego concrete tile roofs is cracked or missing mortar at the ridges and hips. The ridge and hip tiles are the curved caps that run along the peak of the roof and along any angles where two roof faces meet. Those cap tiles are typically set in mortar, and mortar is porous. After 10 to 15 years of San Diego sun, wind, and occasional rain, that mortar starts to crack, crumble, and fall out in chunks. Once the mortar goes, the ridge and hip tiles can shift, and once a ridge tile shifts, water gets under the tiles and into the underlayment. By the time you see a leak inside, the underlayment has often been quietly degrading for years.
We’ve walked roofs in Rancho Peñasquitos where the tiles themselves were in beautiful condition, but 60% of the ridge mortar was cracked or completely gone. The homeowner had never heard they needed to check the ridges. It’s the single most common concrete tile roof problem in San Diego County, and it’s one most checklists ignore entirely.
Here’s what to check on a concrete tile roof, whether you’re doing it yourself from a safe position or having a professional inspection:
- Ridge and hip mortar: Look for visible cracking, crumbling, or gaps between the cap tiles and the roof surface. You’re checking the mortar bed that holds the ridge and hip tiles in place, and any deterioration there is an urgent fix.
- Lifted or displaced tiles: A tile that is even slightly pushed up or shifted out of alignment breaks the roof’s water-shedding pattern. In heavy rain, water can flow under the displaced tile and onto the underlayment, which is not designed for continuous water exposure.
- Broken tile edges: Look for tiles with chipped or broken corners, especially along the eaves and rakes. A broken edge on a tile near the bottom edge of the roof is a direct water entry point.
- Tile-to-flashing transitions: Where the tile roof meets a chimney, skylight, or vertical wall, check that the flashing is intact and the tile is still properly seated. This is where tile roofs leak most often, after ridge mortar.
- Underlayment condition at the eaves: Along the bottom edge of the roof, look for any visible underlayment that is torn, cracked, or pulling away from the decking. Underlayment is the waterproof layer beneath the tiles, and in San Diego’s sun, exposed underlayment at the eaves degrades quickly.
If you have a concrete tile roof and you’re not sure how old the underlayment is, that’s worth finding out. Tile underlayment in San Diego typically lasts 20 to 30 years, and when it fails, the only fix is a full tile lift and re-lay, which is a major job. Regular inspection catches underlayment problems early, before a full replacement is needed. A roofing professional can tell you, during a routine inspection, whether your underlayment is nearing the end of its service life.
The Under-$200 Maintenance Tasks That Prevent $8,000 Repairs
Most serious roof damage starts small. A hairline crack in a pipe boot, a clogged scupper, a single lifted tile. Left alone, each of these leads to water intrusion, and by the time the water has rotted the decking, soaked the insulation, and stained the drywall, you’re not fixing a $200 problem anymore. You’re fixing a structural one. Here are the specific maintenance tasks we recommend for San Diego homeowners that cost under $200 and directly prevent the most expensive repairs.
Re-caulking pipe boots: Pipe boots, which are the rubber or metal sleeves that seal around plumbing vents, degrade faster in San Diego than anywhere else in California because of UV exposure. A pipe boot replacement or re-caulking job typically costs $100 to $185, depending on the pipe size and roof access. A failed pipe boot is the single most common source of San Diego roof leaks we repair. The fix is cheap; the leak it prevents is not.
Clearing scuppers and overflow drains: On flat roofs, scuppers are the openings that let water drain through the parapet wall. When a scupper clogs, water ponds, and ponding water on a flat roof in San Diego will find a crack. Clearing scuppers and checking drainage is under $100 if you’re having it done as part of a maintenance visit, and often free if you’re comfortable doing it yourself from the roof’s edge. The cost of not doing it: a flat roof replacement, which can run $12,000 to $20,000 on a typical San Diego home.
Reseating lifted tiles: If a concrete tile has lifted or shifted, reseating it is a quick job. The labor cost is typically $75 to $150, assuming the tile itself is still in good condition. A displaced tile that goes unfixed through one winter allows water onto the underlayment, and in the case of older tile roofs, straight into the attic. The same tile left for two winters often means water-stained ceilings, ruined insulation, and a much bigger repair bill.
Replacing failed sealant at roof penetrations: Every skylight, vent, and roof-mounted equipment penetration needs the sealant around it checked and refreshed periodically. Sealant fails in San Diego’s heat after seven to ten years, not the fifteen or twenty you’d expect in a cooler climate. Re-sealing a skylight or vent costs $125 to $190, and it’s one of the highest-value maintenance tasks you’ll find.
Minor gutter repairs and cleaning: A sagging gutter end, a loose hanger, or a small downspout adjustment costs $50 to $150. Water that overflows from a sagging gutter cascades down the fascia, and in San Diego, fascia rot is a gateway problem: once the fascia goes, the decking near the eave is next.
What we recommend: build these tasks into your twice-yearly inspection routine. When you do your April and October checks, whichever items you identify, have them fixed immediately. In our experience, homeowners who fix small issues quickly spend less over ten years than homeowners who wait until problems are visible from the ground. The small-task maintenance budget for a San Diego roof is roughly $200 to $400 per year. The average cost of the repairs that result from skipping those tasks? We see $4,000 to $8,000 regularly, and often much more when flat roofs are involved.
For homeowners who want a deeper understanding of what repair actually costs in this market, including how San Diego pricing compares and what drive costs up and down, our roofing company page for San Diego breaks down local pricing factors without the smoke and mirrors.
What to Document and Photograph Every Year
Most homeowners have never taken a single photo of their roof. Here’s why that’s a mistake: when a roof problem develops, whether it’s storm damage, a contractor dispute, or an insurance claim, you need a baseline. You need to be able to prove what the roof looked like before the problem started. Without that baseline, you’re arguing from memory, and memory doesn’t win insurance disputes.
We recommend every San Diego homeowner take a dated set of roof photos once a year, ideally in April or October when you’re already doing your major inspection. Here’s exactly what to document:
- Overall roof condition: Take wide shots from the ground, from multiple angles, capturing every roof slope. These establish the baseline of “this is what my roof looked like on April 15, 2026.”
- All penetrations: Photograph every pipe boot, vent, skylight, and chimney flashing, up close if you can safely access them, or zoomed from the ground if you can’t. Penetrations are leak sources, and you want a photographic record of their condition.
- Flashing joints: If you can safely see them, photograph the flashing at every wall-to-roof junction, chimney, and skylight. Flashing failure is a top San Diego leak cause.
- Tile or shingle condition close-ups: Zoom in on representative sections of the roof so you have a documented level of granule coverage, tile alignment, and general material condition. These close-ups are invaluable for tracking degradation over time.
- Gutter and downspout condition: Photograph the gutters, downspouts, and any visible drainage components. After a storm, if you need to show that your gutters were in good condition before the storm hit, you’ll have the evidence.
- Interior attic condition: Photograph the underside of the roof decking, especially around penetrations, and any areas where you’ve seen past water staining. These photos are your evidence if a leak reoccurs or worsens.
- Any known existing issues: If you know about a cracked tile, a worn pipe boot, or any other issue you haven’t fixed yet, photograph it and note the date. If a contractor later claims they found pre-existing damage, you’ll know for sure whether it pre-dated their work.
Store all of this in a folder, either physical or digital, with a clear naming convention: “Roof Inspection April 2026,” “Roof Inspection October 2026.” Add written notes: “October 2026: re-caulked two pipe boots, cleared all gutters, no visible damage.” Over the years, this record becomes the most valuable roof document you own. It protects you in insurance claims, contractor disputes, and warranty discussions. It also helps you track the actual rate of degradation on your specific roof, which varies from neighborhood to neighborhood in San Diego. A roof in Del Cerro ages differently than one in Imperial Beach.
If you’re having any work done, always get a written scope of work and a written price before anything starts. We require a written price before any work begins because a verbal estimate is worthless in a dispute. The written price, the written scope, and your photo record together create a paper trail that protects your home.
Common Mistakes to Avoid
- Waiting until you see water inside to investigate. By the time water stains appear on a ceiling in San Diego, the roof has often been leaking for weeks or months, traveling through the attic before finding a visible path down. The visible stain is the end of the leak, not the beginning. Regular attic checks catch leaks before they’re visible inside.
- Ignoring a small tar patch or isolated sealant crack. Tar patches and caulk crack repair jobs done by previous owners or contractors look permanent but fail fast in San Diego’s heat. A small tar patch on a flat roof from two years ago is almost certainly a leak waiting to happen. Have it evaluated.
- Skipping the attic check because the roof looks good from the street. Most San Diego roof damage is invisible from the ground. The attic reveals what the street view hides, and it’s the single highest-value inspection you can do.
- Assuming tile roofs don’t need maintenance. It’s a common misconception: tile is tough, so tile roofs don’t need checking. The tile itself is durable, but the mortar, underlayment, and flashing are not. Ridge and hip mortar failure is the most missed San Diego roof problem we see.
- Using a pressure washer to clean the roof. Pressure washing destroys shingles and tiles by blasting off granules, cracking the surface, and forcing water under edges and into the underlayment. Never pressure wash a roof. If it needs cleaning, use a low-pressure rinse or hire a professional who uses appropriate cleaning methods.
- Cleaning gutters only when they look clogged. By the time a gutter looks visibly packed with debris, drainage has already been compromised for weeks. Clean gutters on a set schedule, ideally twice a year in San Diego, before heavy rain and after Santa Ana season.
- Deferring small repairs until the “next big rain.” San Diego’s rainfall is concentrated in a short winter window. If you find a problem in May and defer it until the rainy season, you’ve given the problem months to worsen, and you’ll be calling during the busiest, most expensive time of year for roof repair. Fix spring problems in spring.
When to Call a Professional
Some roof maintenance tasks are safe and sensible for a homeowner to do themselves. Cleaning gutters from a stable ladder, checking the attic interior, photographing from the ground, these are all reasonable. But there are specific situations where you should call a professional, not just for safety, but because the diagnosis requires trained eyes.
Call a professional if you see any active water intrusion, including stains, dripping, or mold on the underside of the decking. Call if you find damaged or missing flashing, or if you see daylight coming through the roof from inside the attic. Call if you have a flat roof with ponding water that persists more than 72 hours after rain. Call if you see displaced tiles or lifted shingles and you’re not comfortable or safe accessing the area to assess the full extent of the damage. Roof work on any slope carries real risk, and working on a roof without the right training and safety equipment is a leading cause of home-owner injury. We’d rather walk your roof and give you an honest assessment than have you risk a fall.
Mercer Roofing Co San Diego offers free estimates anywhere in San Diego, including a written price before any work starts, every time. Call (619) 810-5520 and we’ll schedule someone to come out, take a look, and give you our finding in writing.
When you schedule with us, you’ll know who’s coming before they arrive. We send every technician’s name and photo ahead of the visit, and they’ll present a photo ID badge at the door. It’s the Threshold Verified standard, and it’s how we make sure you never have to worry about opening your home to a stranger. If you’re curious about what goes into a full roof replacement in San Diego, we also have a detailed breakdown on roof installation in San Diego, including the local permitting and material considerations.
Frequently Asked Questions
Twice a year is the right cadence for San Diego: once in April, after the rain season ends, and once in October, before the rain season begins. This catches winter damage before summer UV accelerates it, and then catches summer damage before winter water exploits it. An annual inspection is the minimum, but the twice-a-year approach better fits San Diego’s actual climate pattern.
Routine roof maintenance in San Diego typically costs $150 to $350 per year for gutter cleaning, minor sealant work, and inspection if no actual repairs are needed. Individual small repairs like re-caulking a pipe boot or reseating a lifted tile run $75 to $190, while a comprehensive professional inspection with a written report typically costs $150 to $300, depending on roof size and complexity. Call us at (619) 810-5520 for a free estimate and a written price.
In San Diego’s UV-heavy climate, asphalt shingle roofs typically last 18 to 25 years, concrete tile roofs 40 to 60 years with proper underlayment replacement, and flat roofs 12 to 20 years depending on the membrane type and maintenance history. These lifespans assume regular maintenance; neglected roofs fail significantly earlier. The sun, not the rain, is what ages a San Diego roof.
Yes. The tiles themselves are durable, but the mortar holding ridge and hip tiles, the underlayment beneath the tiles, and the flashing around penetrations all degrade over time even if the roof never leaks. By the time a tile roof leaks, the underlayment has usually been compromised for years, and the repair is much more extensive than a simple maintenance fix would have been. Ridge and hip mortar inspection is the most important, most missed maintenance item on San Diego tile roofs.
No. Pressure washing destroys roofing materials by blasting granules off asphalt shingles, cracking tile surfaces, and driving water under the edges and into the roof structure. A pressure-washed roof ages prematurely and is more likely to leak. If your roof needs cleaning, use a low-pressure rinse from a garden hose, or hire a professional who has the right methods and training to clean without causing damage.
First, document it with a photo and note the date. Then check the attic directly above the stain, if you can safely access it, to trace the source. Then call a licensed roofing professional. In San Diego, water stains often develop weeks after the actual leak starts, and the leak is frequently located several feet from where the stain appears, because water travels across the attic before finding a path down. Don’t paint over the stain until the source of the leak has been identified and repaired. Call (619) 810-5520 for a free evaluation.
The Bottom Line
San Diego roofs die from sun exposure, salt air, and neglected small problems, not from dramatic storm events. The maintenance
See the difference
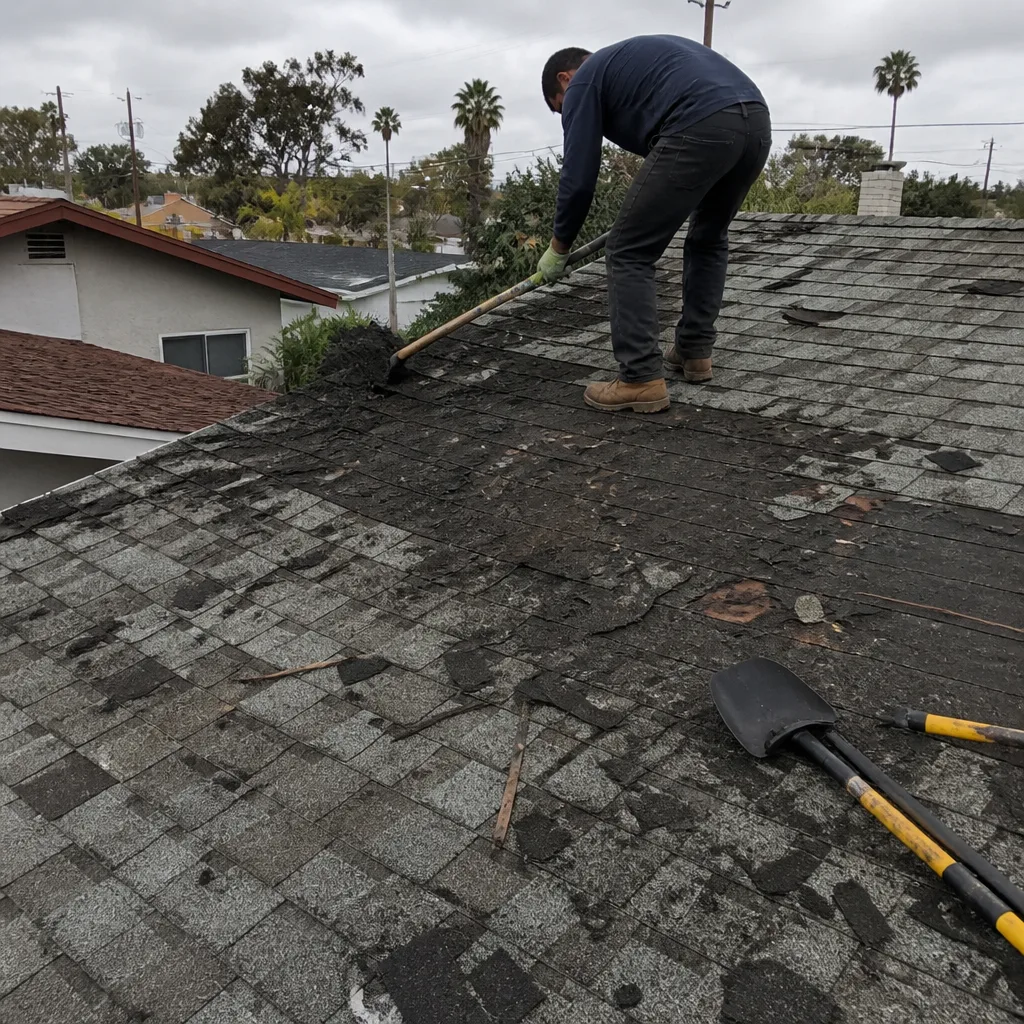 Before
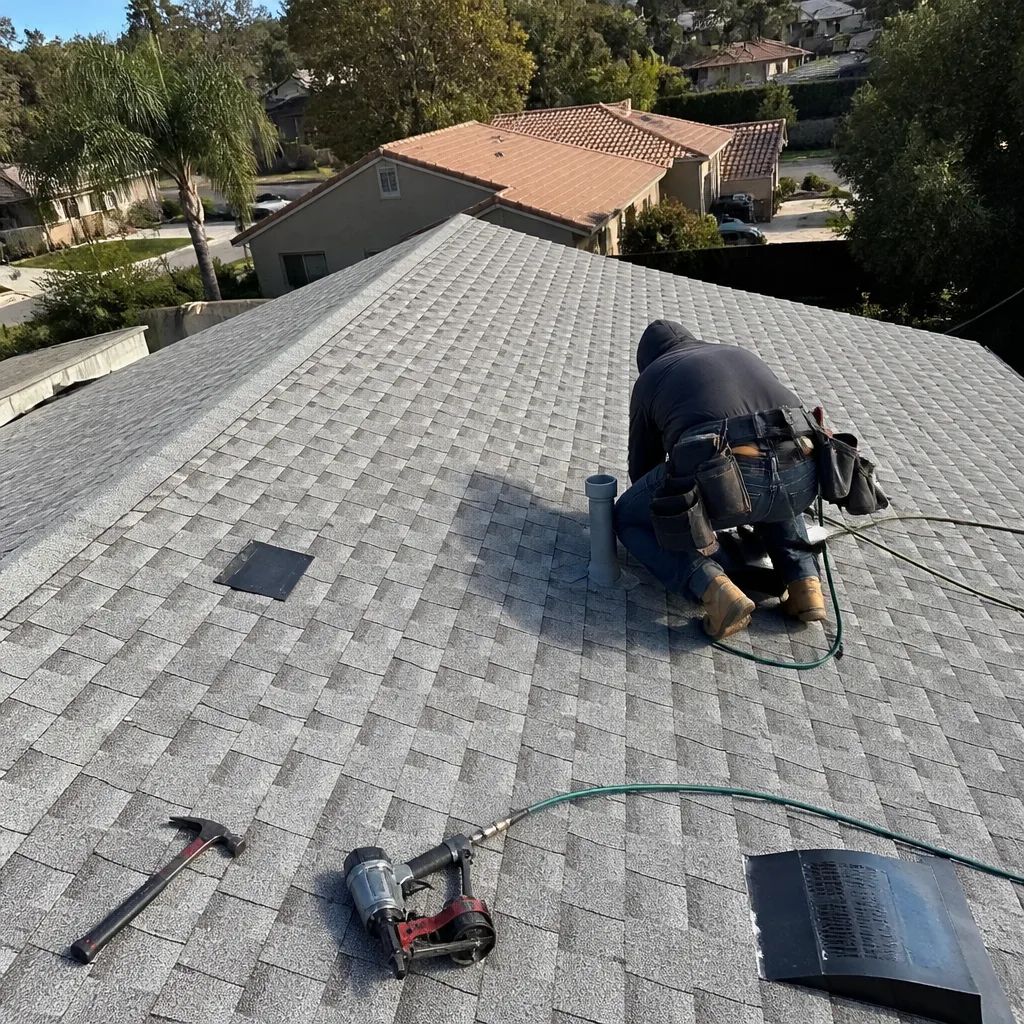 After
After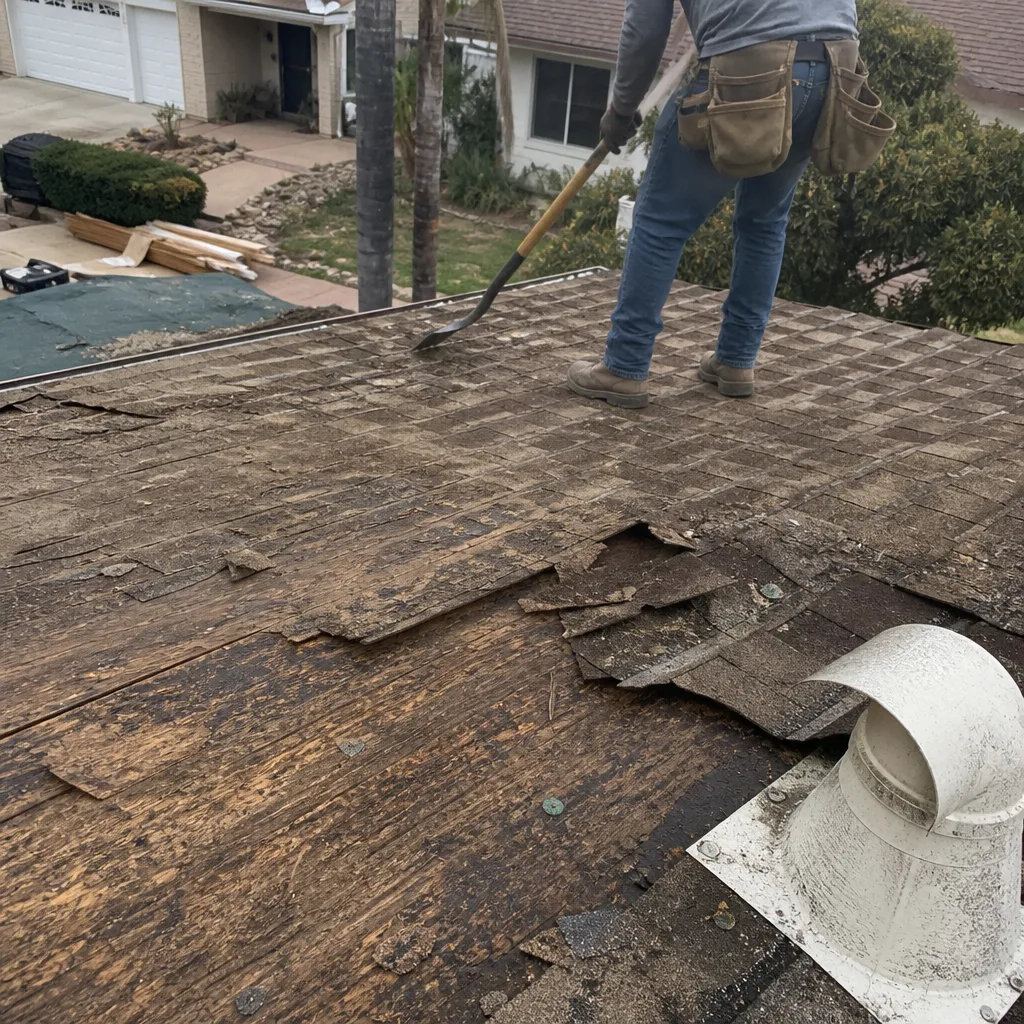 Before
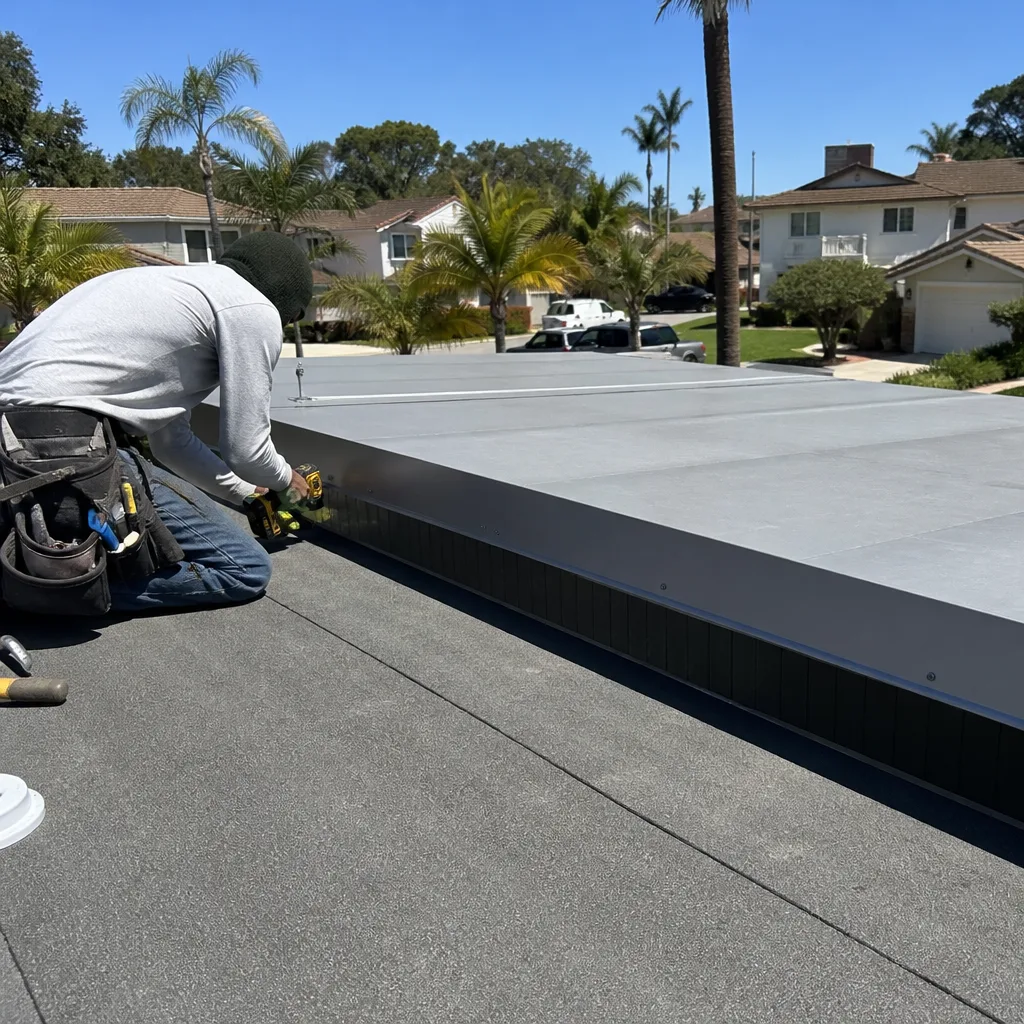 After
After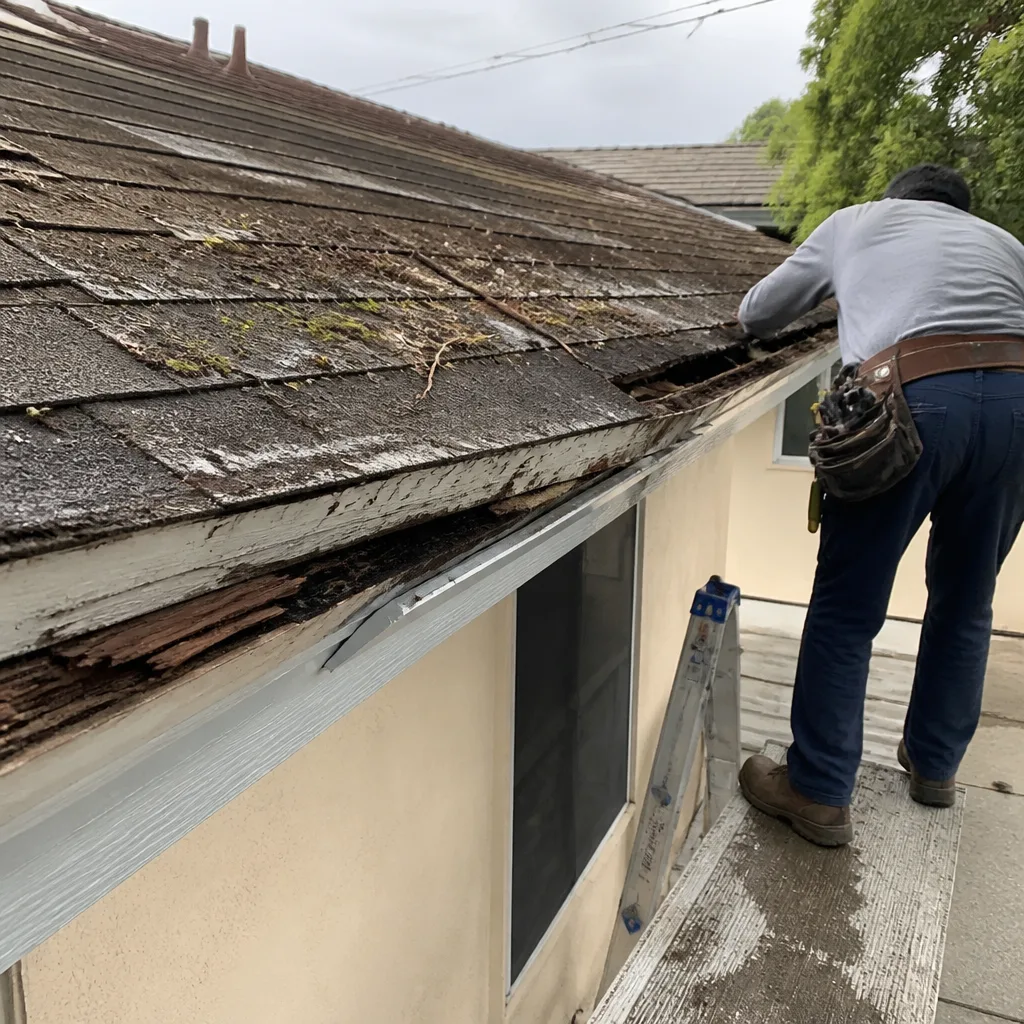 Before
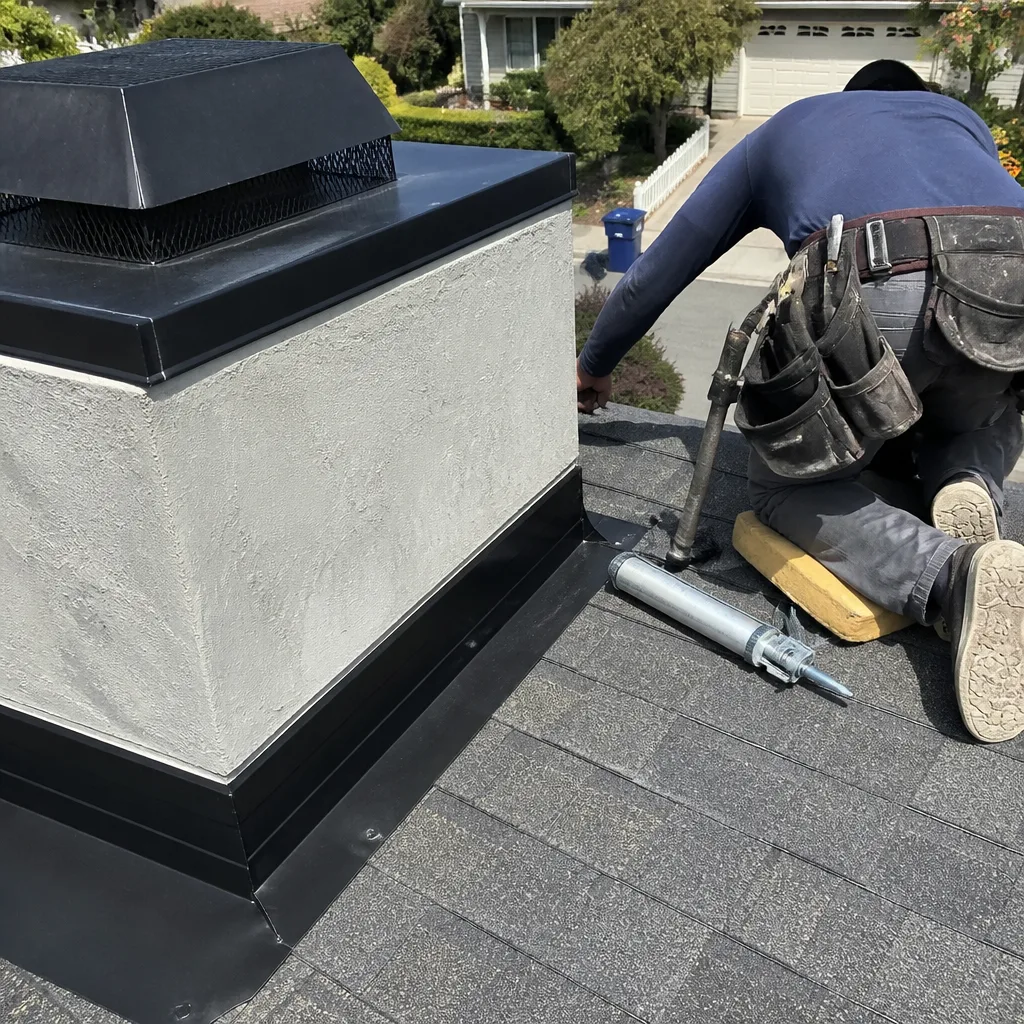 After
After